> For the complete documentation index, see [llms.txt](https://docs.gaiodataos.com/llms.txt). Markdown versions of documentation pages are available by appending `.md` to page URLs; this page is available as [Markdown](https://docs.gaiodataos.com/tools/tasks/etl/unpivot-table.md).
# Unpivot Table
The **Unpivot Table** task in **Gaio DataOS** allows you to transform a wide-format table (with multiple columns representing categories or dates) into a long-format table (where values are stacked into rows). This is especially useful for time series, monthly reports, and dashboards requiring dynamic filtering.
{% hint style="warning" %}
**Important:** This task can only be used when a **table is selected** in the flow.
{% endhint %}
***
## How to Use
### **1. Open the Unpivot Table Task**
* Go to the menu:\
**Tasks > ETL > Unpivot Table**
***
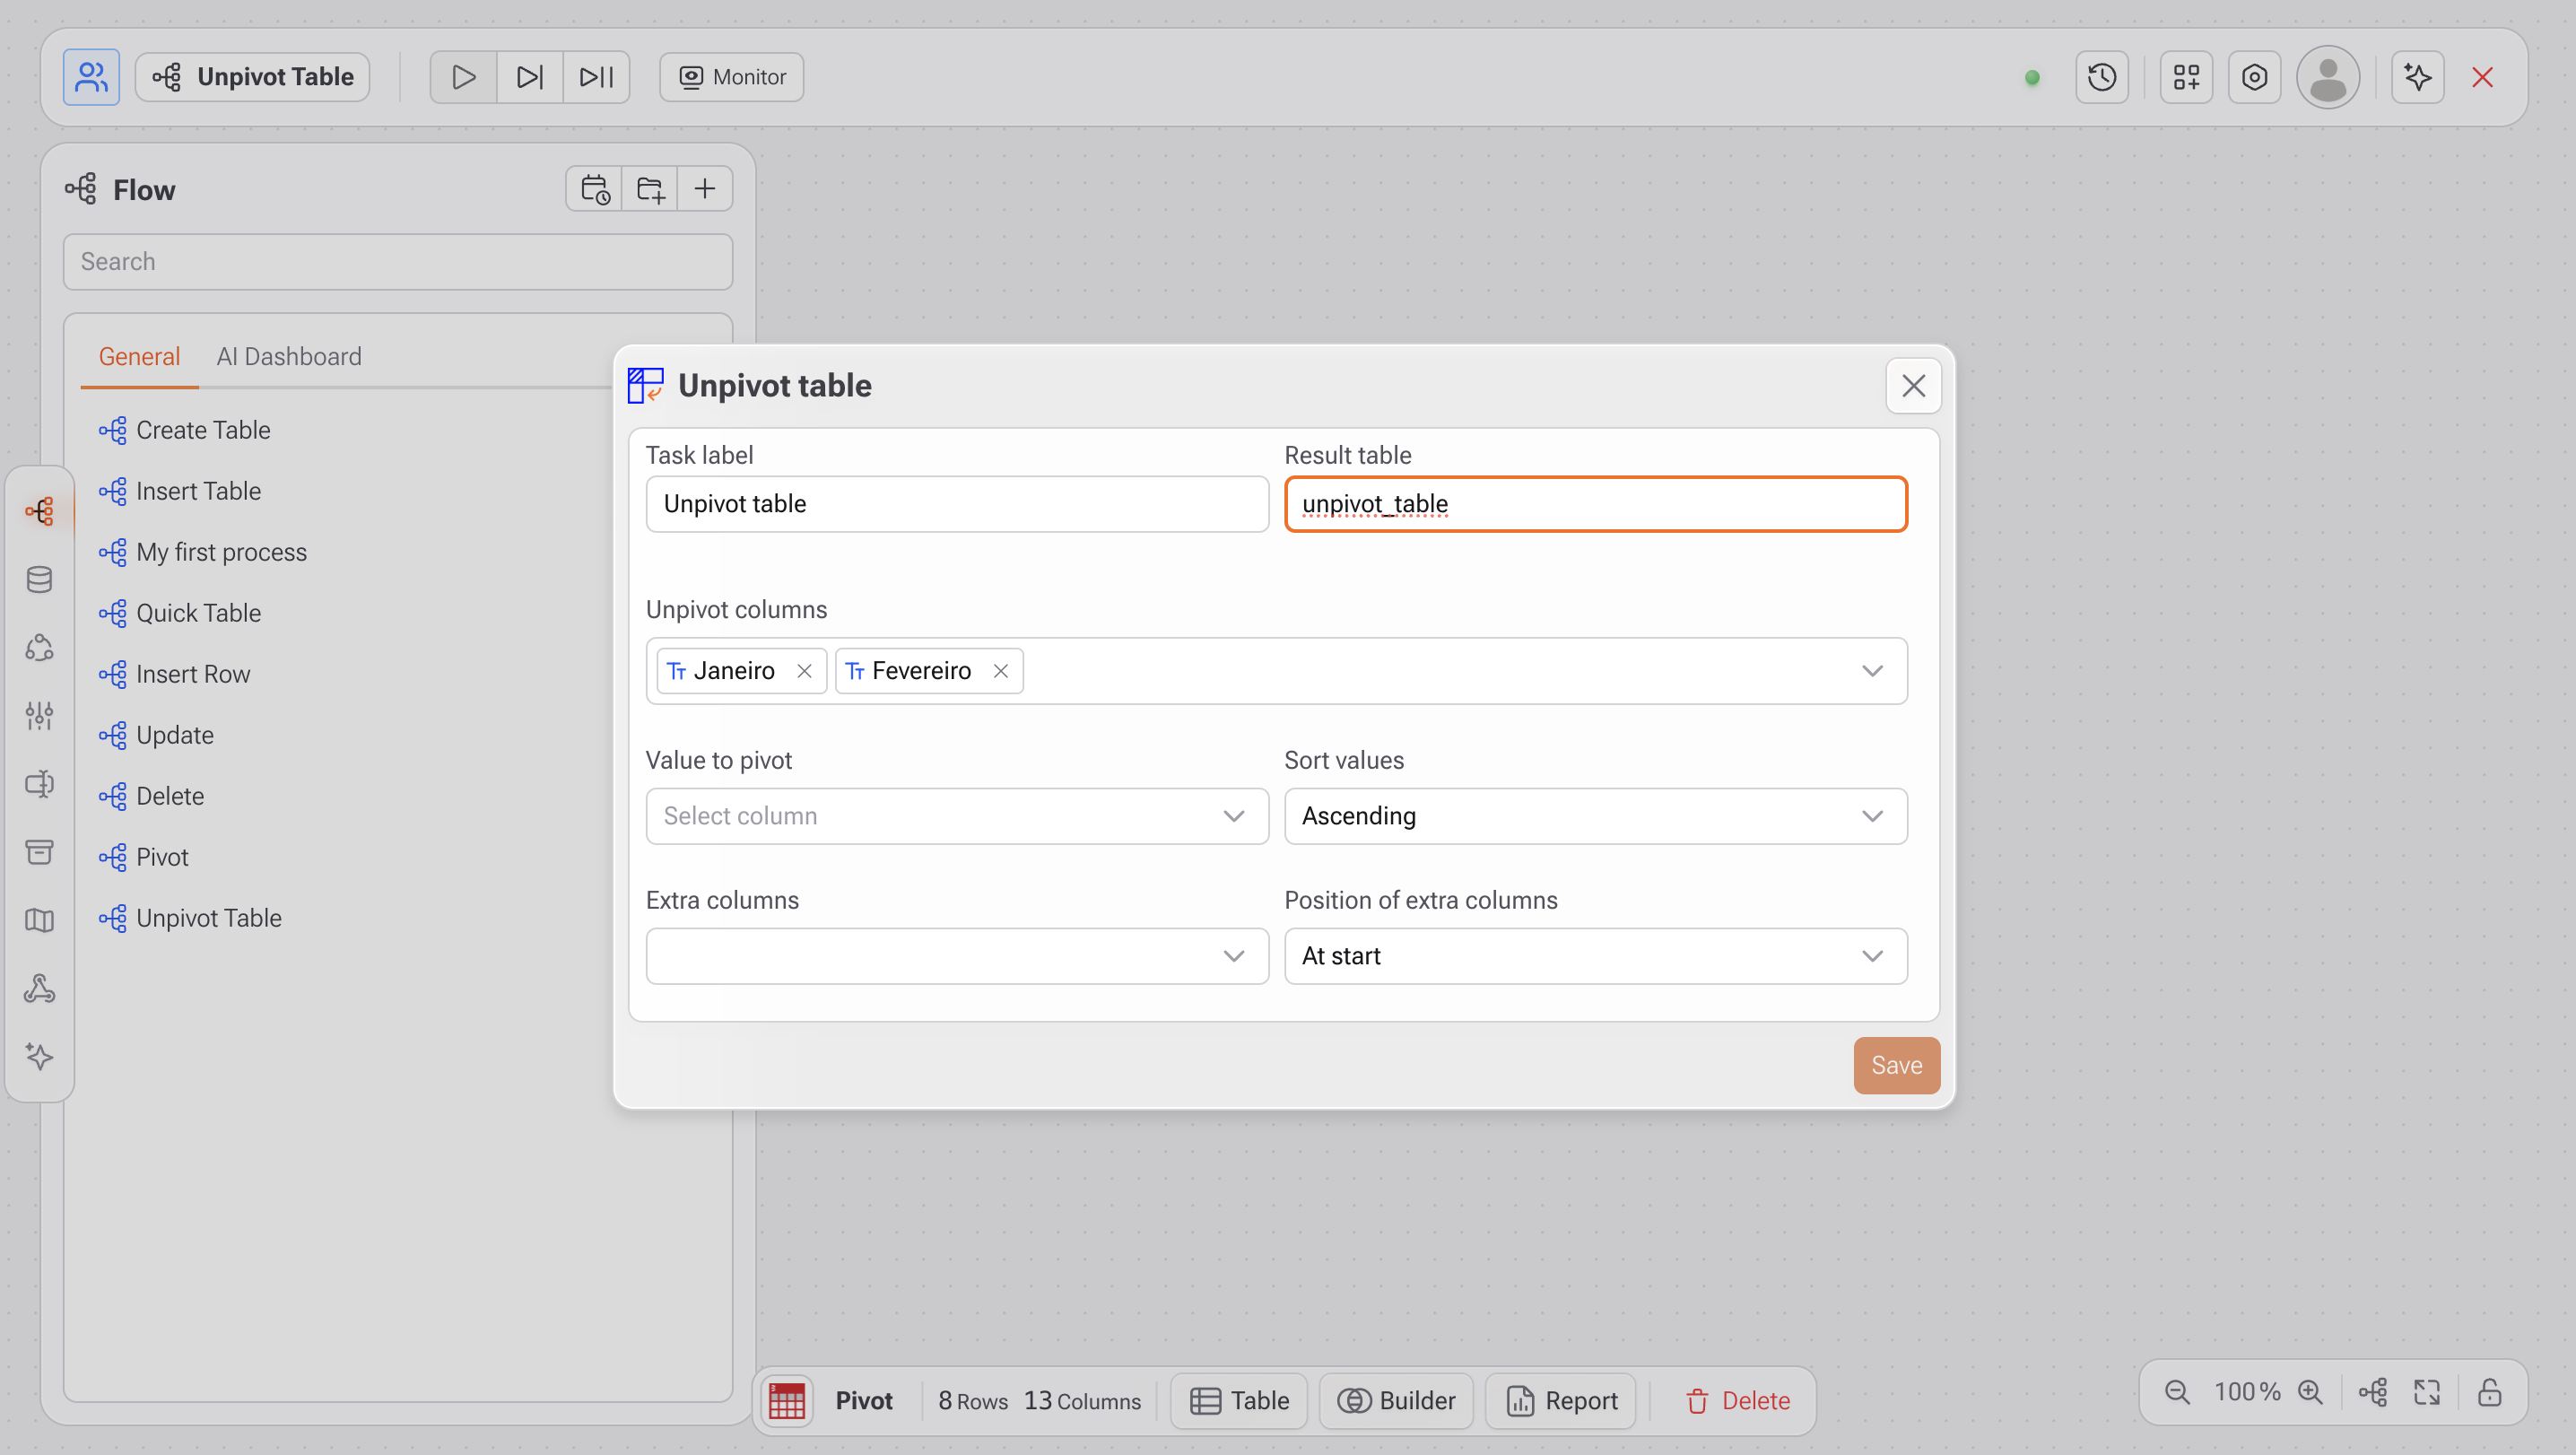
### **2. Set Task Information**
* **Task label**: (optional) Name for identifying this step in your flow.
* **Result table**: Enter the name of the new table that will contain the unpivoted data (e.g., `unpivot_table`).
***
### **3. Select Unpivot Columns**
* **Unpivot columns**: Select the columns whose values will be transformed into rows (e.g., `January`, `February`).
* These columns will become the values in a new "category" field, and their corresponding values will move into a single “quantity” column.
***
### **4. Sort Values (Optional)**
* **Sort values**: Choose `Ascending` or `Descending` if you want to control the order of unpivoted rows by column category.
***
### **5. Add Extra Columns (Optional)**
* **Extra columns**: Select columns that should remain unchanged and be repeated in the resulting unpivoted table (e.g., `Region`, `Product`).
* **Position of extra columns**: Choose whether they appear `At start` or `At end` of the result.
***
### **6. Save and Run**
* Click **Save** to store the task in your flow.
* Click **Run** to execute the task in your flow.
***
#### Best Practices
* Use **clear numeric fields** (e.g., `valor`, `quantidade`) as the "Value to pivot" to avoid confusion in the resulting `quantity` column.
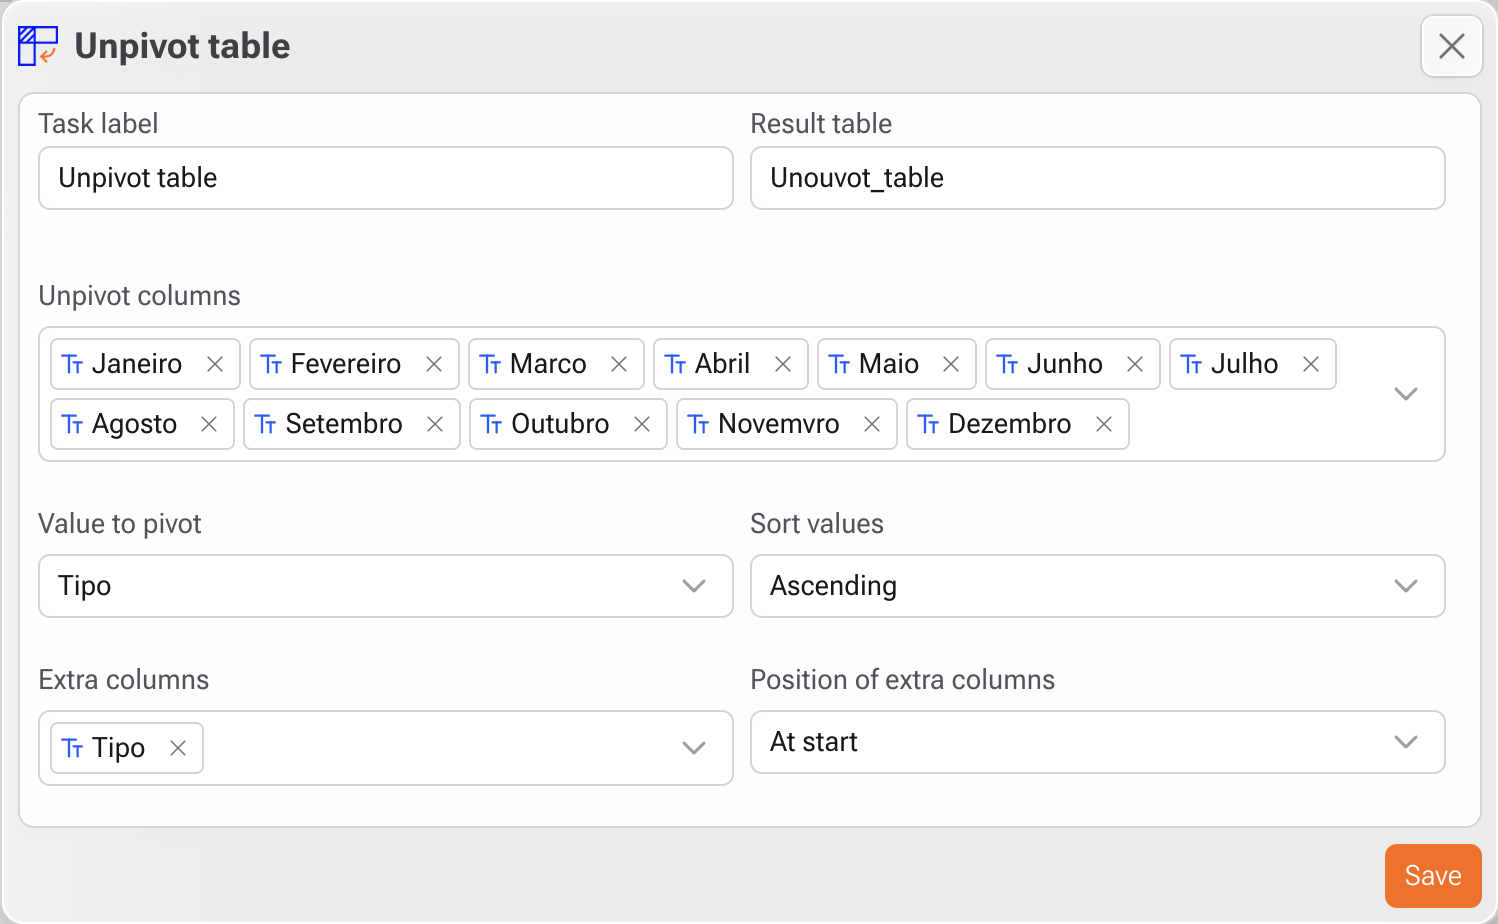
* Ensure your **column names are correct** — in the screenshot, `Novemvro` should be corrected to `Novembro`.
* Always preview the output and validate if your new table preserves the desired relationships.
***
#### Use Cases
* Convert monthly sales columns into a time series
* Normalize survey responses or data from spreadsheets
* Simplify data structure for dashboards and filtering
* Prepare wide-format datasets for analytical models
***
#### Example Output
Given the configuration shown in the screenshot, the output table will include:
| Tipo | category | quantity |
| ---------- | -------- | ----------- |
| Pay | December | 313088.1023 |
| Pay | January | 0 |
| Pay | February | 0 |
| ... | ... | ... |
| to receive | October | 268242.7913 |
| to receive | November | 293688.738 |
Where:
* `Tipo` is preserved as an **extra column**
* `category` was generated from the selected **month columns**
* `quantity` holds the original values