> For the complete documentation index, see [llms.txt](https://docs.gaiodataos.com/llms.txt). Markdown versions of documentation pages are available by appending `.md` to page URLs; this page is available as [Markdown](https://docs.gaiodataos.com/tools/tasks/etl/quick-upload.md).
# Quick Upload
The **Quick Upload** feature in Gaio DataOS allows you to quickly import files like `.csv` and convert them into structured tables inside your project. With the redesigned interface, which includes two tabs — **Table** and **Columns** — the import process is now more intuitive, secure, and customizable.
***
## How to Use Quick Upload
***
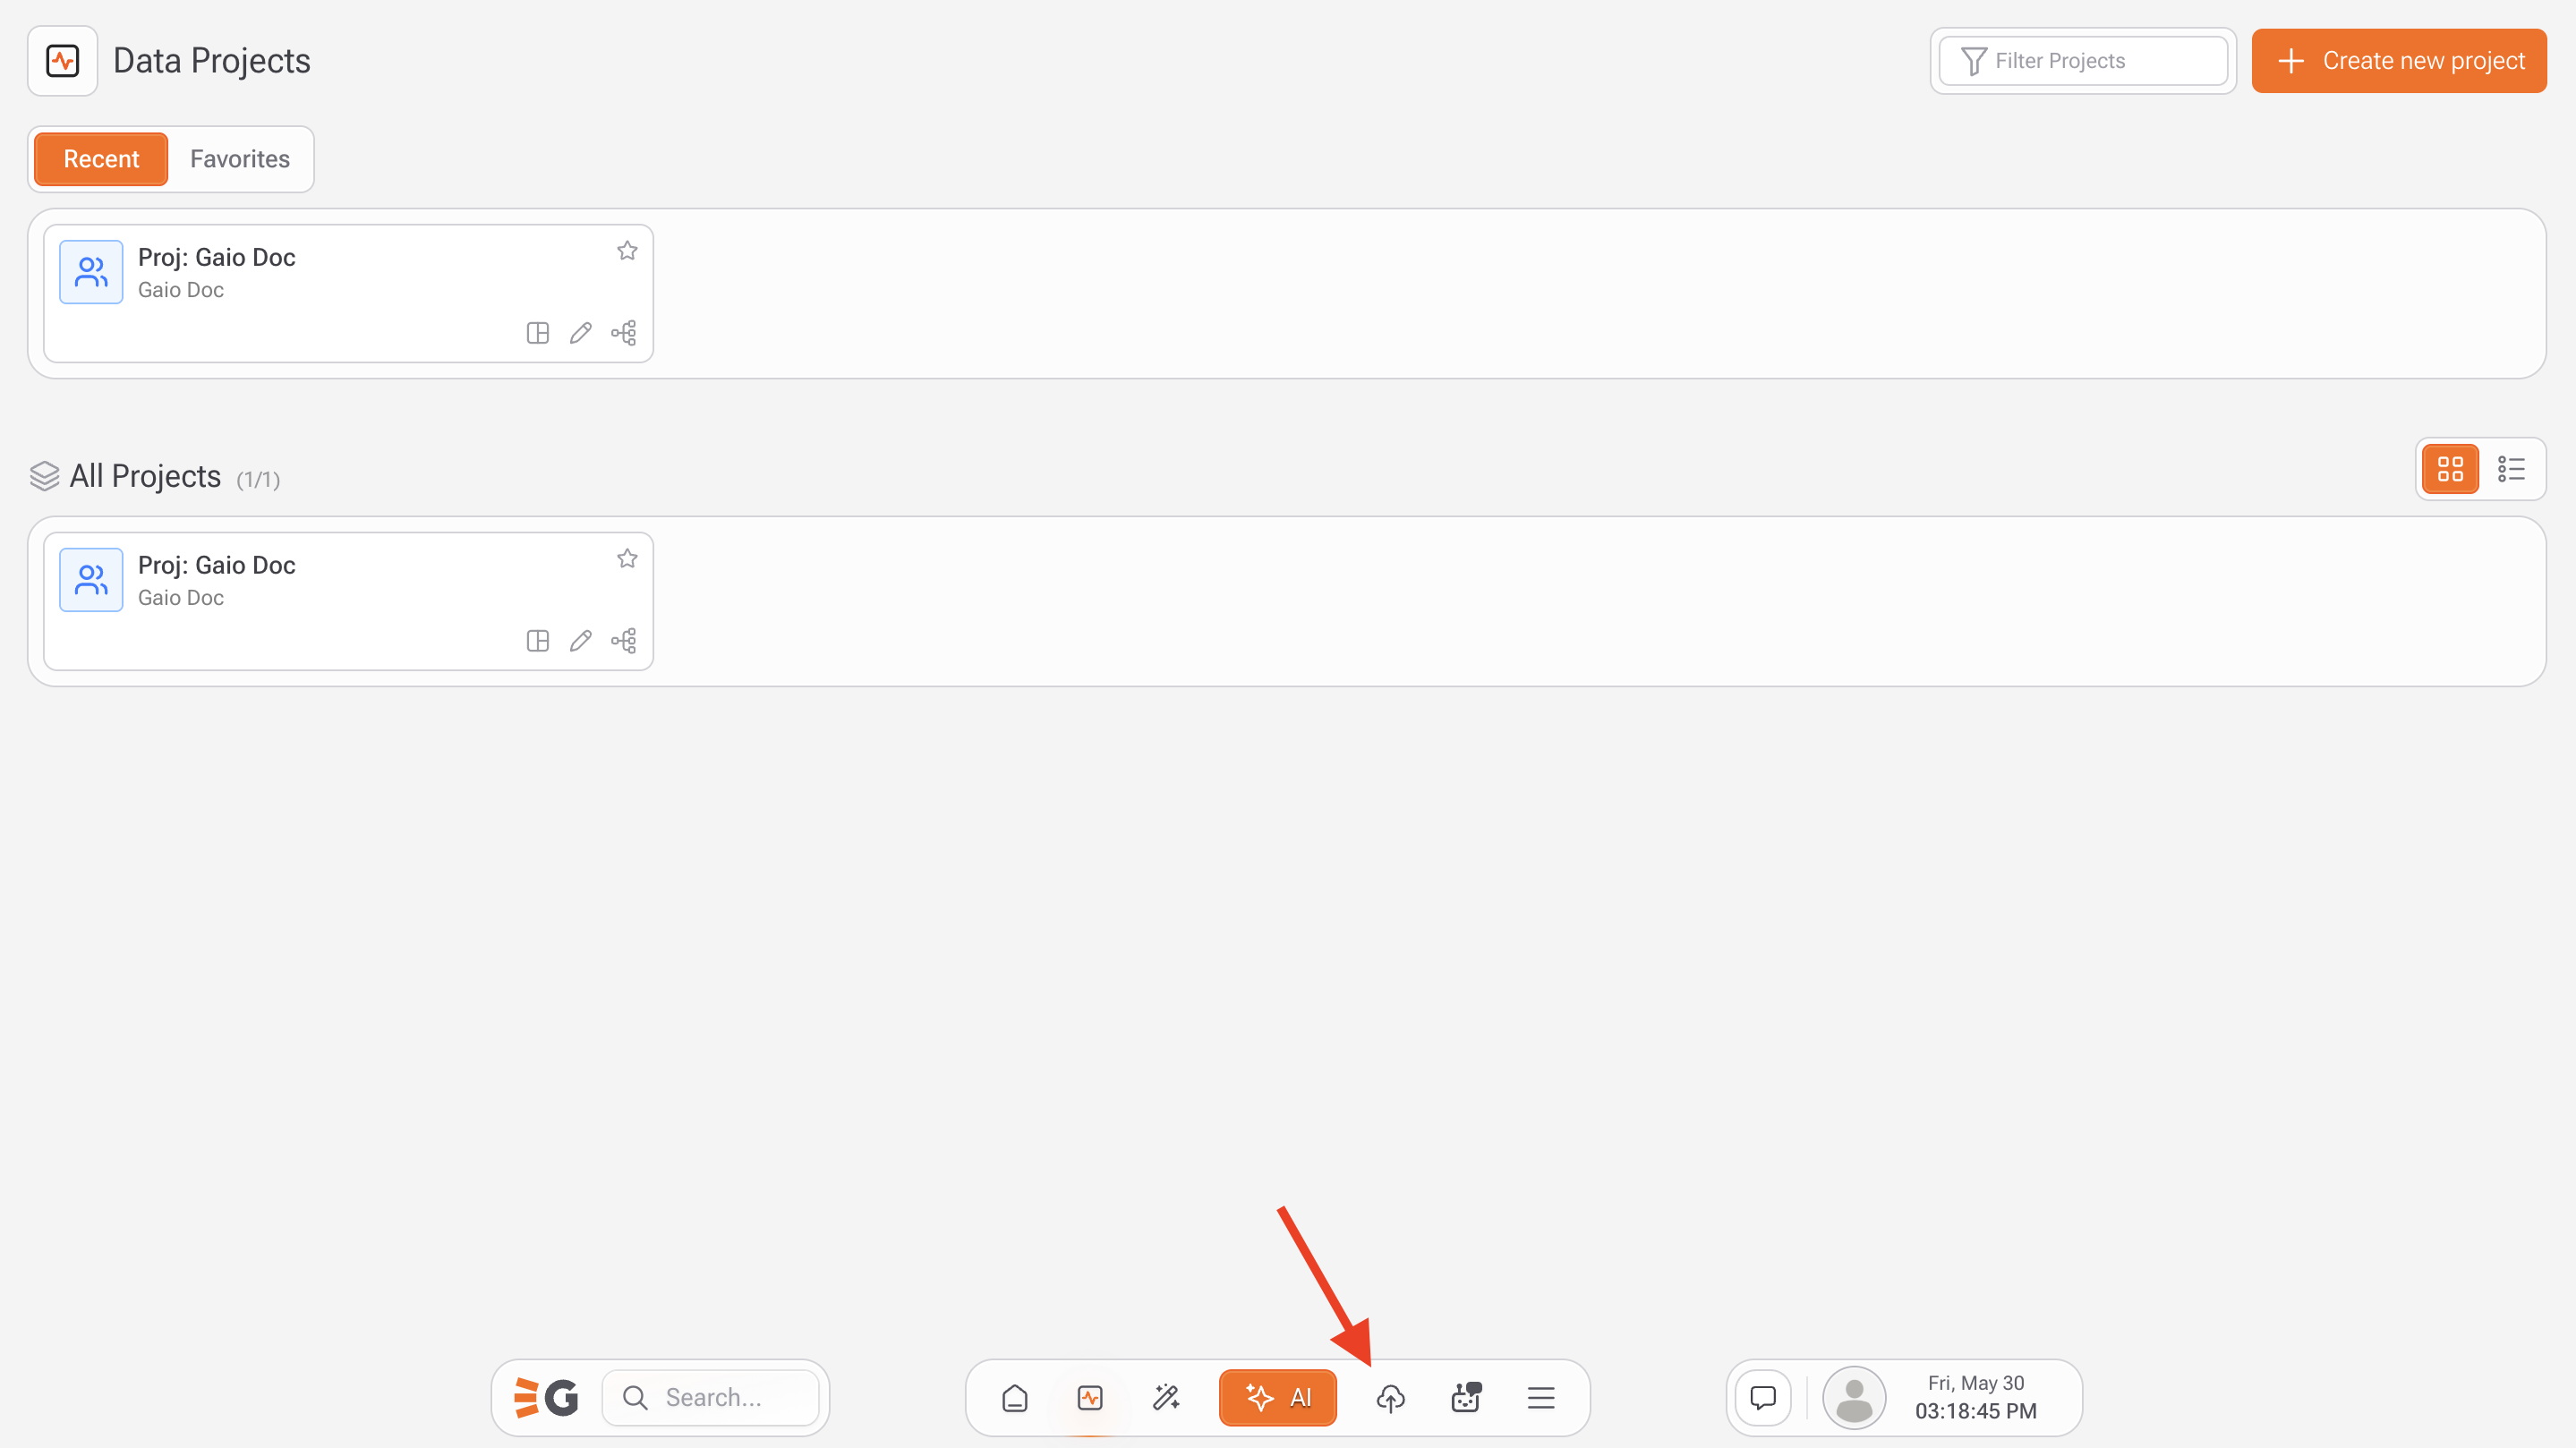
### 1. **Open the Quick Upload Panel**
* On your home bar, select quick upload
***
### 2. **Upload Your File**
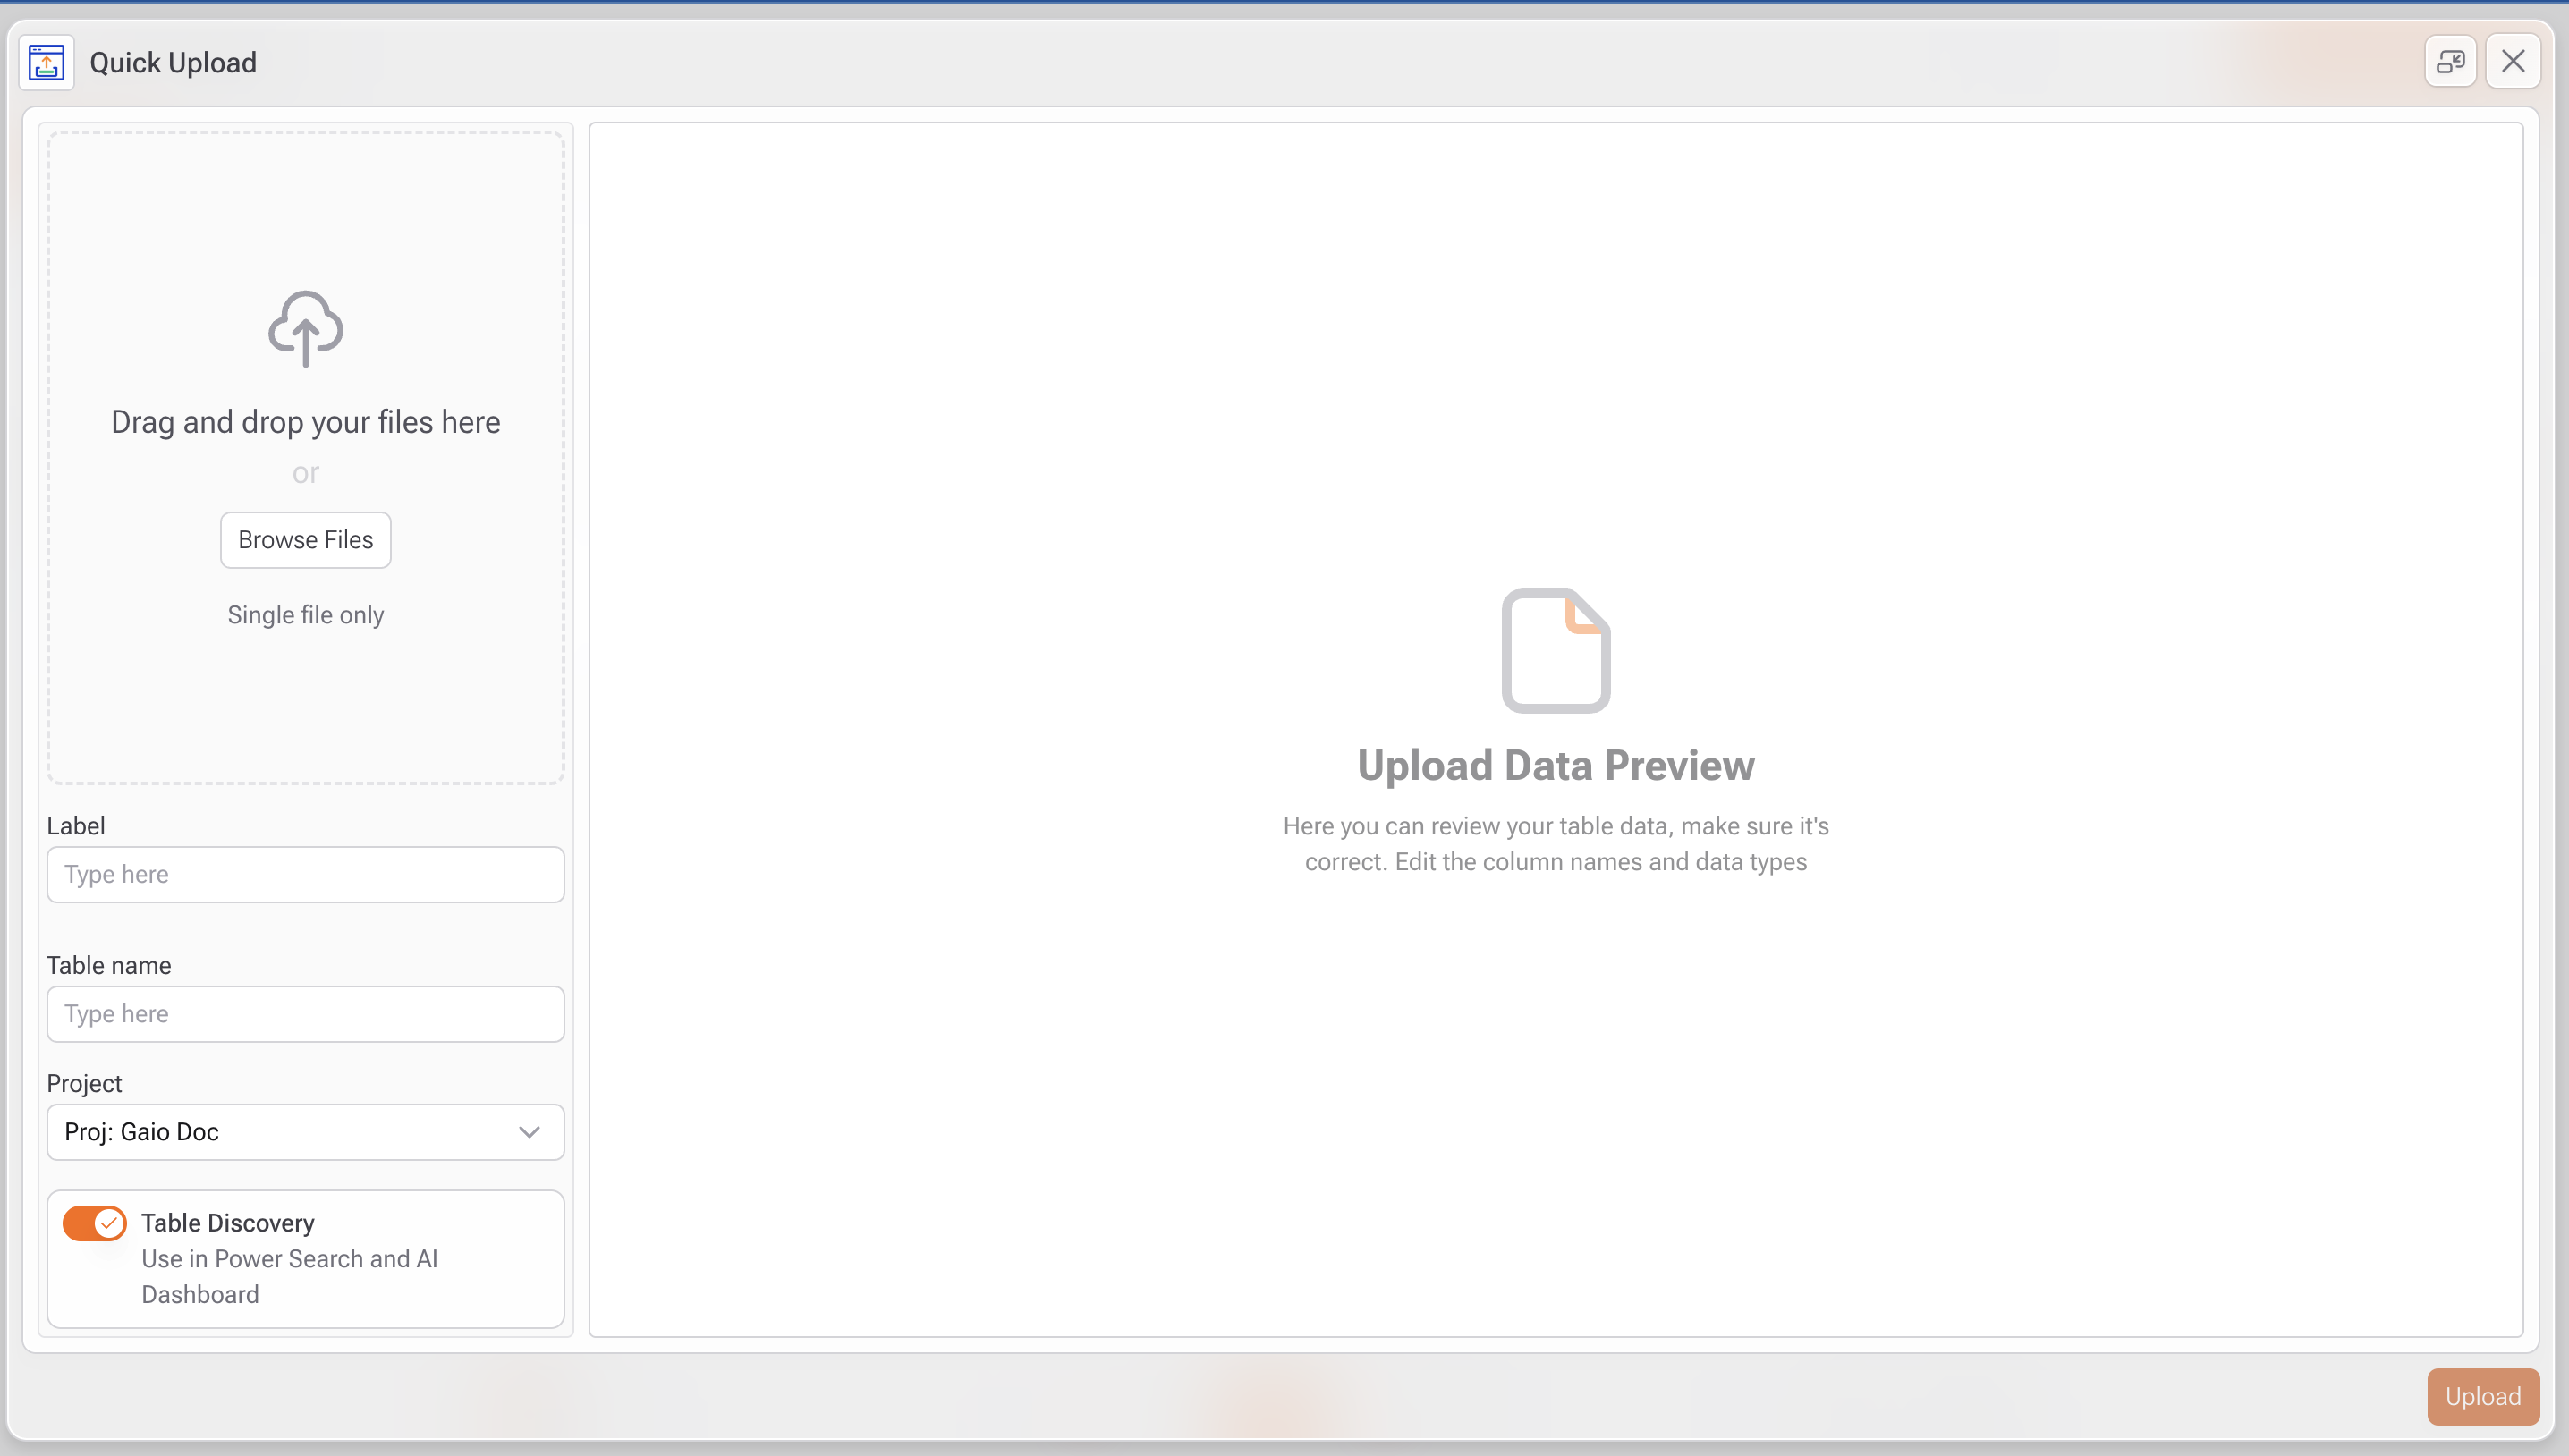
* Drag and drop a file into the upload area,\
or click **Browse Files** to select one from your device.
* Only **one file** can be uploaded per operation.
📌 Supported formats: `.csv`
***
### 3. **Configure Table Details (Table Tab)**
* **Label**:\
Provide a friendly name to identify the task.
* **Table Name**:\
Define the name for the new table that will be created in the project.
* **Project**:\
Confirm or change the target project for the table.
* **Table Discovery** (enabled by default):\
When enabled, this makes the table available in:
* **Power Search** (semantic, natural language search)
* **AI Dashboard** (automatically generated dashboards)
***
### 4. **Adjust Column Settings (Columns Tab)**
After uploading your file, switch to the **Columns** tab to review and configure each column:
* **Data Type**:\
Adjust the data type for each column (`String`, `Decimal`, `Date`, etc.) to match the contents.
* **Column Name**:\
Rename columns as needed for clarity and consistency.
* **Date Format (optional)**:\
For `Date`-type columns, specify the original format from the CSV (e.g., `dd/mm/yyyy`, `yyyy-mm-dd`).
* **Decimal Size**:\
Set the number of decimal places for numeric fields.
* **Treat Data Warning**:\
A notification reminds you to review numeric, decimal, and date fields to ensure they are interpreted correctly.
{% hint style="info" %}
Tip: Use the **"Change all to string"** button to quickly convert all fields to text if unsure.
{% endhint %}
***
### 5. **Finalize the Upload**
* After validating all columns and settings, click **Upload** in the bottom-right corner.
Your new table will be created in the selected project and immediately available for use in queries, dashboards, flows, and AI modules.
***
#### Best Practices
* Ensure column names are clear and well-structured.
* Always double-check data types before uploading — especially for dates and numbers.
* Use descriptive table names to make it easier to locate the data later.
***
{% hint style="warning" %}
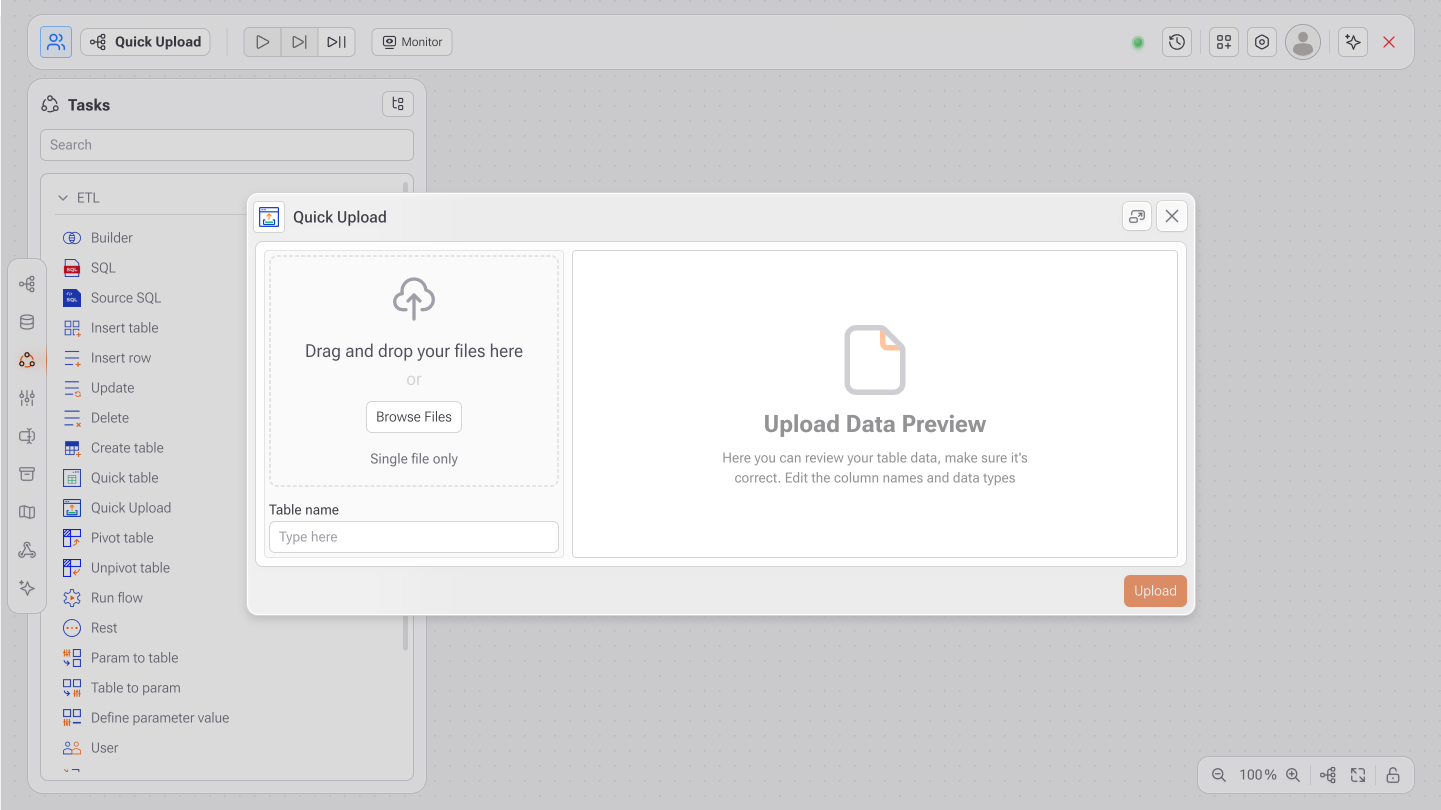
If you access this task through the studio, you can only upload a new spreadsheet, without advanced settings.
{% endhint %}