> For the complete documentation index, see [llms.txt](https://docs.gaiodataos.com/llms.txt). Markdown versions of documentation pages are available by appending `.md` to page URLs; this page is available as [Markdown](https://docs.gaiodataos.com/getting-started/installation-with-docker.md).
# Installation with Docker
Welcome to the **installation guide for the Community version of Gaio DataOS**!
This tutorial will walk you through the steps to run Gaio DataOS locally using Docker Desktop.
***
> **Important:**\
> Each Gaio DataOS License Account can have an **unlimited number of Community licenses**, allowing you to create multiple instances for testing, learning, or commercial use.
>
> License management (Community, SaaS, or Enterprise) is handled through your control panel:\
> 👉 [console.gaiodataos.com](https://console.gaiodataos.com)
***
### Requirements
Make sure you have [Docker Desktop](https://www.docker.com/products/docker-desktop/) installed on your machine.
> 📌 **Tip:** Docker is available for Windows, macOS, and Linux. Download the version that matches your operating system.
***
### Installation Steps
#### 1. Open Docker Desktop
* Launch Docker Desktop on your computer.
***
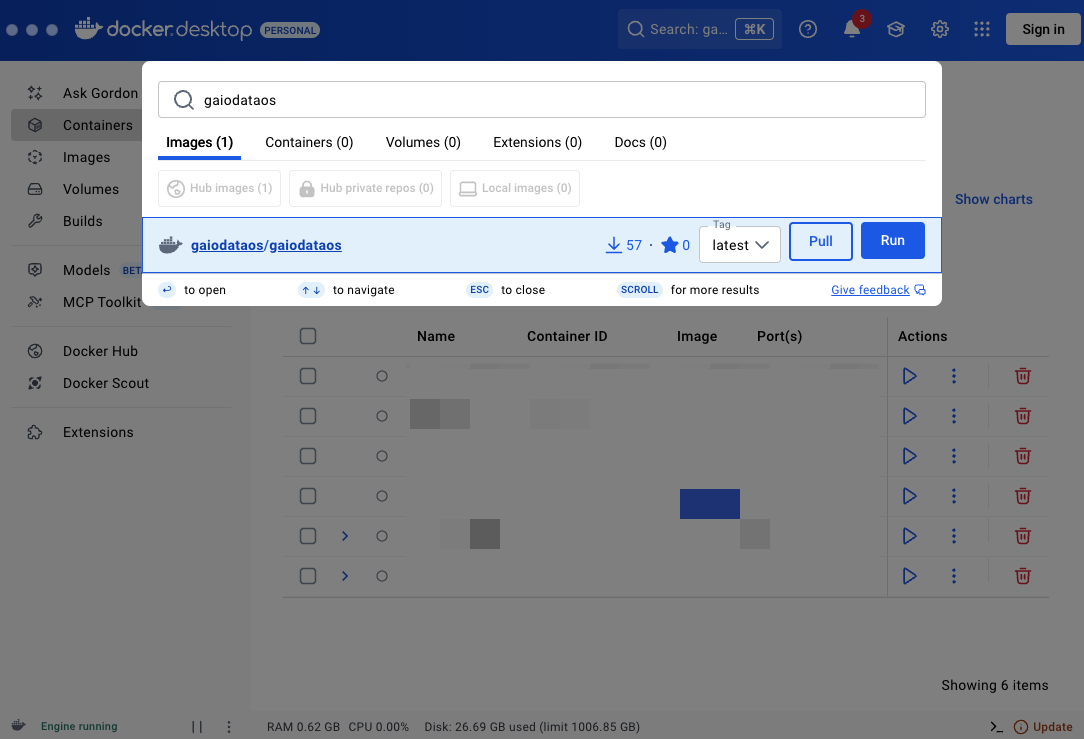
#### 2. Search for the Gaio DataOS image
* Click the **Search** button or use the shortcut:
* `Ctrl + K` (Windows/Linux)
* `Cmd + K` (Mac)
* In the search field, type:
```
gaiodataos
```
***
#### 3. Pull the image
* Click **Pull** to download the official Gaio DataOS image.
> ⏳ Please wait for the download to complete. It may take a few minutes depending on your internet speed.
***
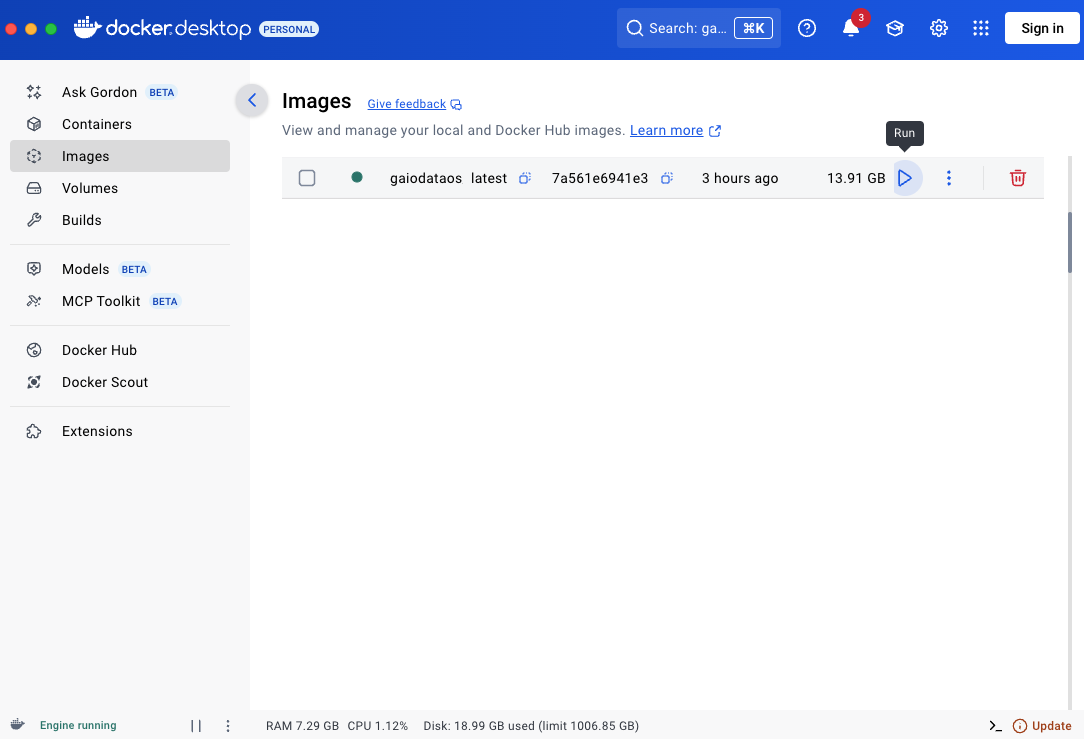
#### 4. Run the image
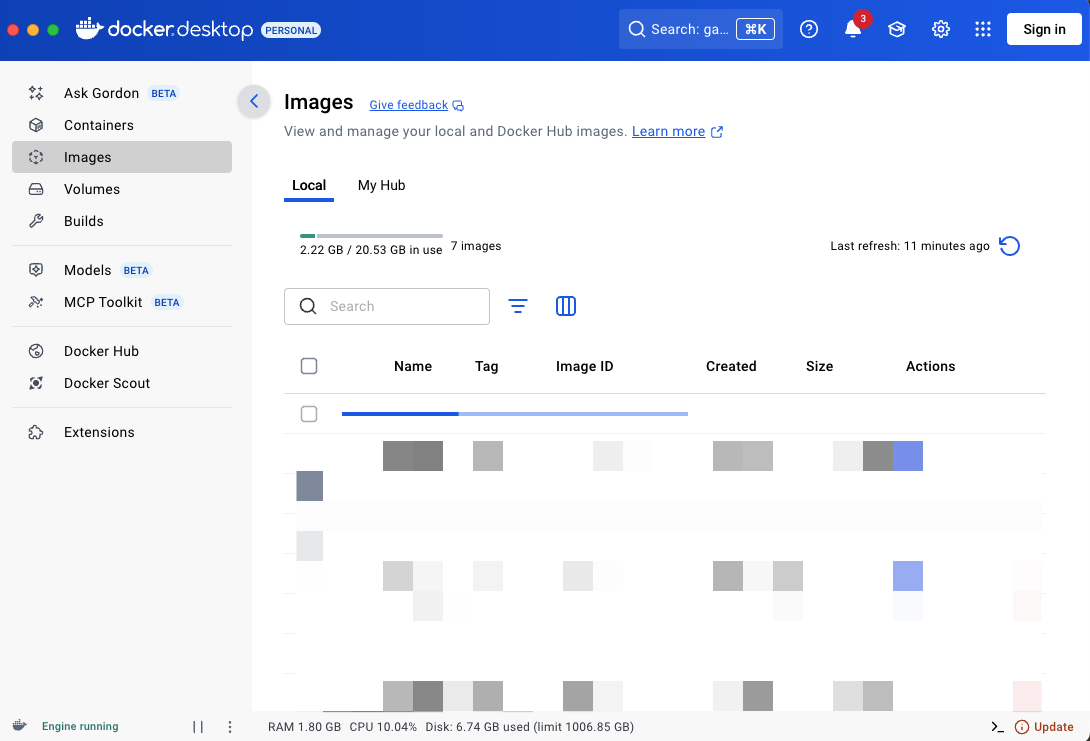
* Go to the **Images** tab in Docker.
* Click **Run** next to the `gaiodataos` image.
***
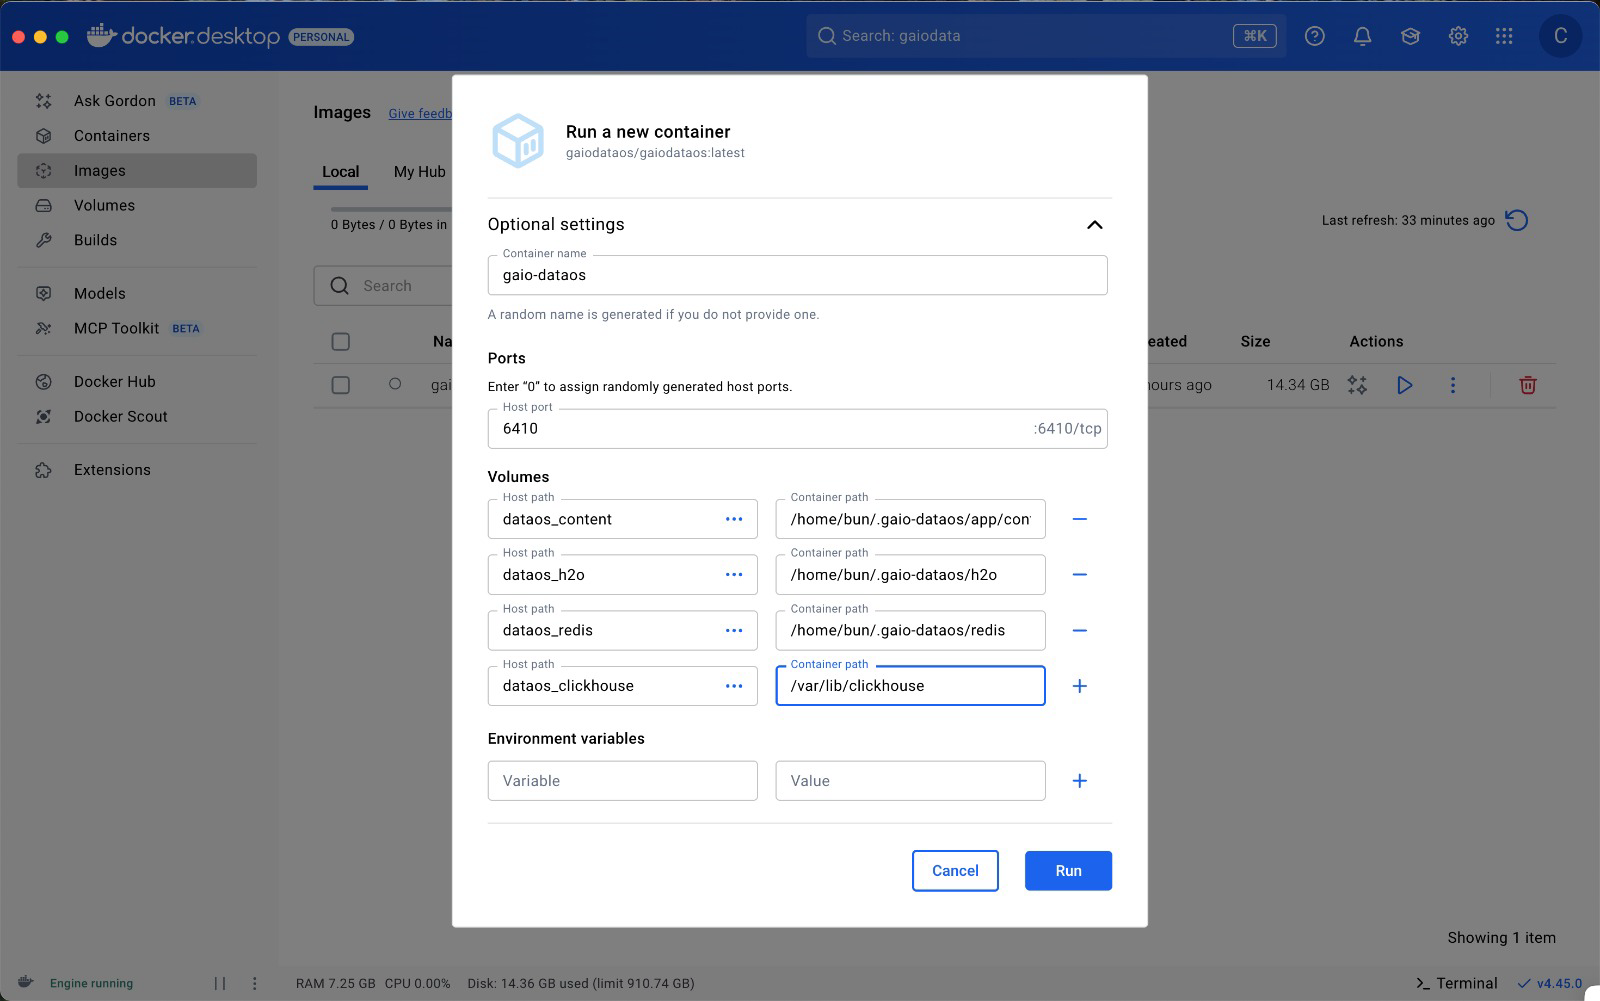
#### 5. Set up the container
* In the **Container Name** field, enter something like `gaio-dataos`.
* For **Port Mapping**, set:
```
6410
```
* In the **Volumes** field, add:
```
Volume 1:
Host path: dataos_content
Container path: /home/bun/.gaio-dataos/app/content
```
```
Volume 2:
Host path: dataos_h2o
Container path: /home/bun/.gaio-dataos/h2o
```
```
Volume 3:
Host path: dataos_redis
Container path: /home/bun/.gaio-dataos/redis
```
```
Volume 4:
Host path: dataos_clickhouse
Container path: /var/lib/clickhouse
```
* Click **Run Container** to launch the environment.
***
#### 6. Access the platform
* In your browser, go to:
```
http://localhost:6410
```
***
### Initial Configuration
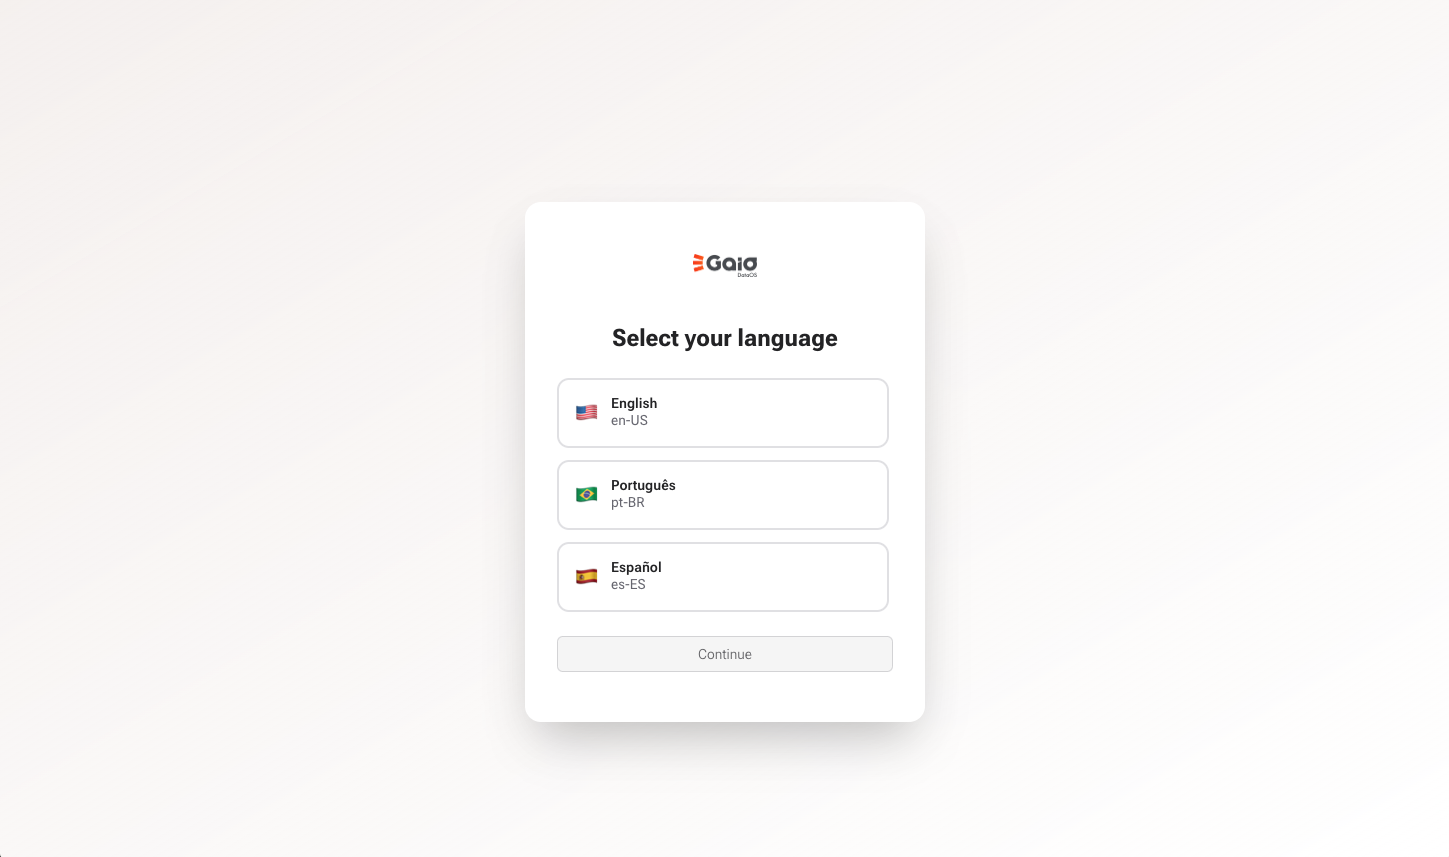
#### 1. Choose your language
* On the welcome screen, select your preferred language.
***
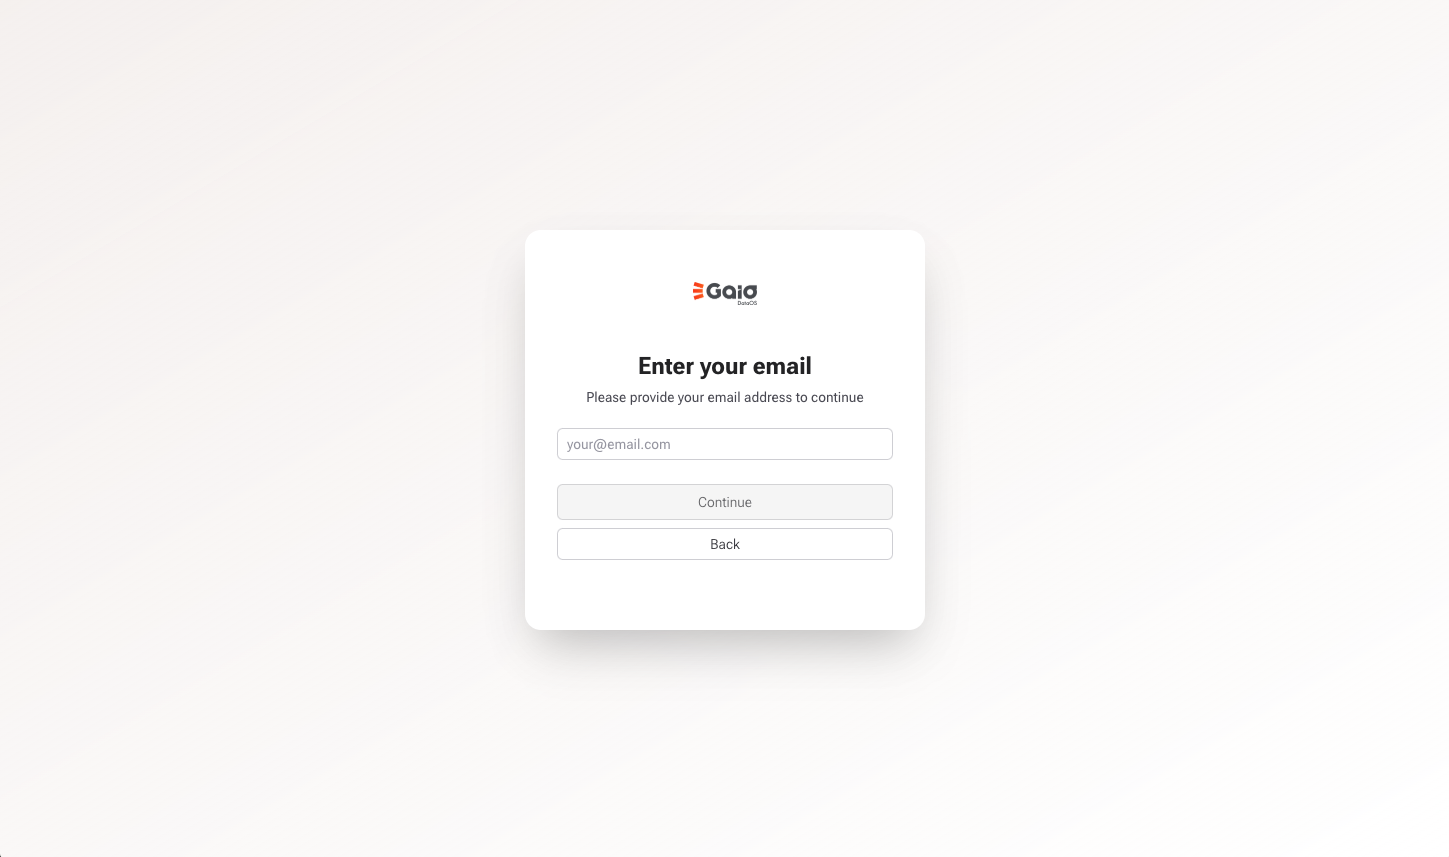
#### 2. Enter your email
* Type in a valid email address to proceed.
***
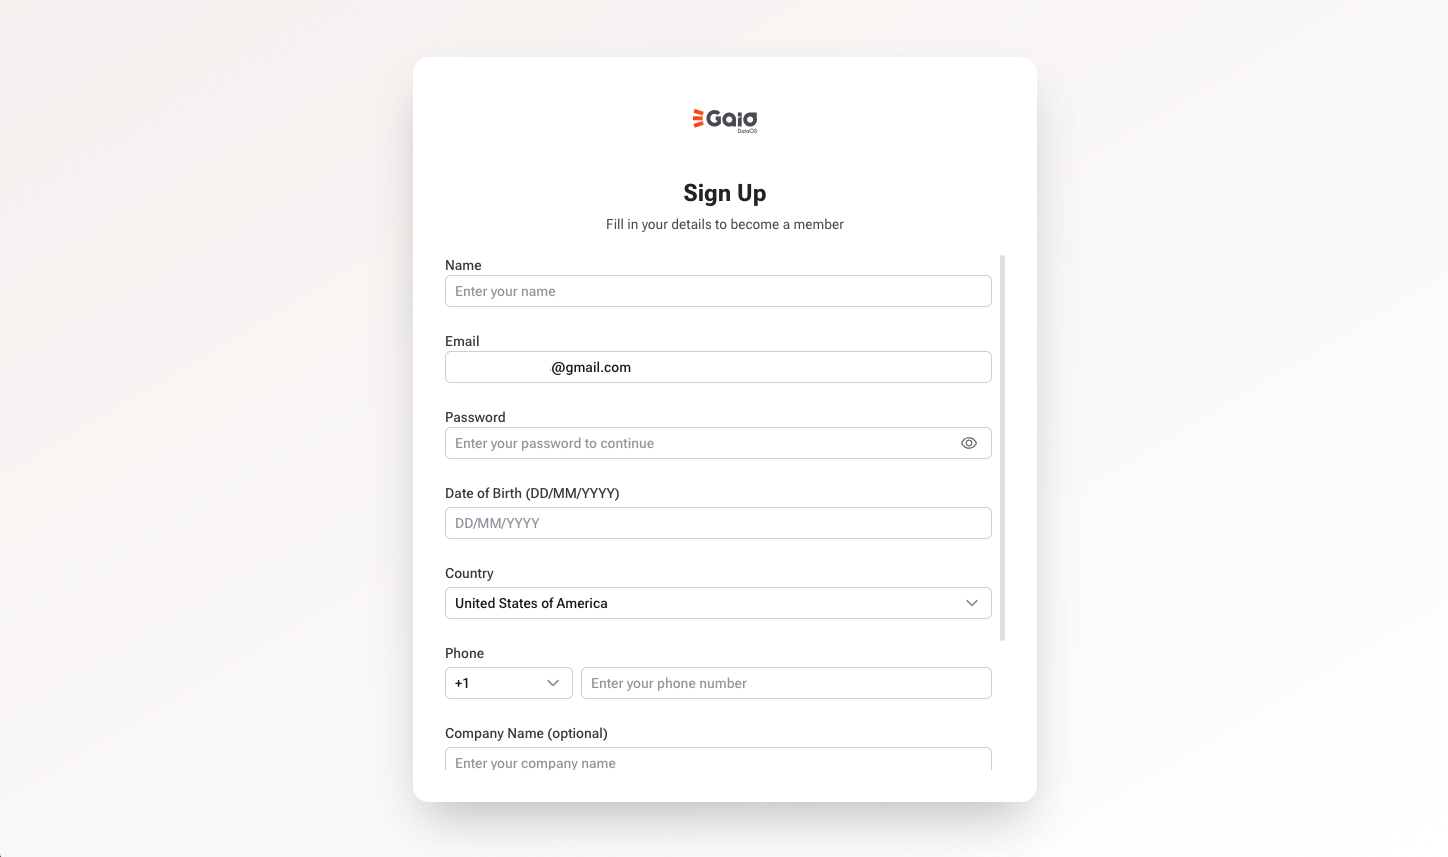
#### 3. Create your Gaio DataOS license
* If you don’t already have a Gaio DataOS License Account:
* Fill out the form displayed.
* Click **Submit** to generate your Gaio DataOS License Account.
***
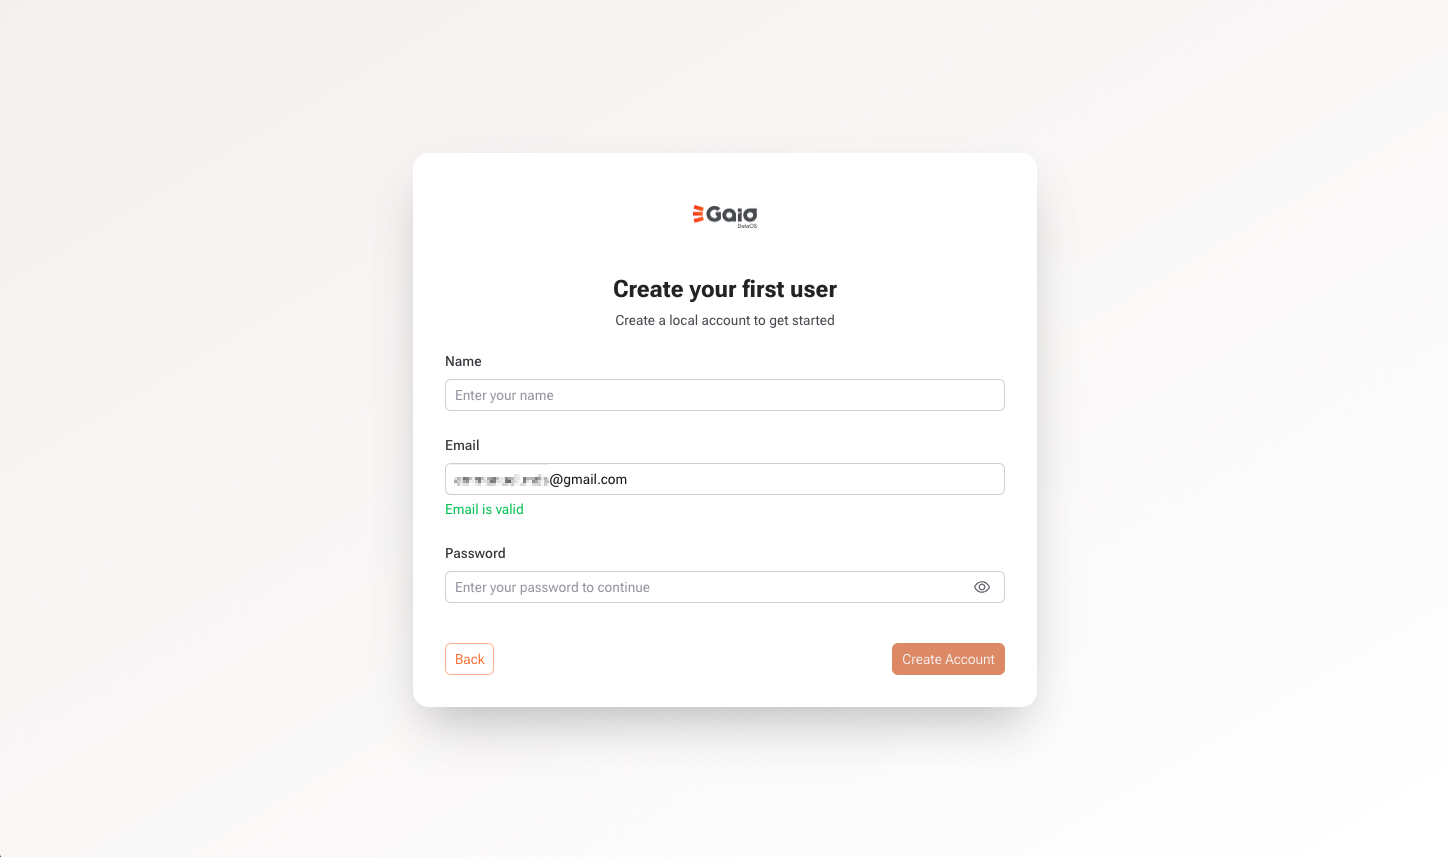
#### 4. Create your local user account
* After the license is created, you’ll be prompted to set up a **local user account**.
* This account will be your login to access the platform on this machine.
> The Community version allows you to create local users for each installed instance of Gaio.
***
### You're all set!
Congratulations! You’ve successfully installed Gaio DataOS.
You can now:
* Import and process data
* Build dashboards and APIs
* Automate data flows
* Use integrated AI features
* And much more
***
### **Gaio DataOS — Docker Image Update Instructions**
#### **Pulling the Latest or a Specific Version**
You can also use the command line to pull the latest, or a specific version:
```bash
# Pull latest (stable) version
docker pull gaiodataos/gaiodataos
# Pull specific version
docker pull gaiodataos/gaiodataos:v0.0.800
```
***
#### **Restarting the Container After Update**
After pulling the updated image, stop your `gaiodataos` container and start it again.\
You can also use the command line. Replace `` in the commands below with the container ID you find in the first command:
```bash
# Find your container ID
docker ps -a
# Stop the container with the ``
docker stop
# Remove the container with the ``
docker rm
# Start the container - Pull latest (stable) version
docker run --pull always --name gaio-dataos -p 6410:6410 -v dataos_content:/home/bun/.gaio-dataos/app/content -v dataos_h2o:/home/bun/.gaio-dataos/h2o -v dataos_redis:/home/bun/.gaio-dataos/redis -v dataos_clickhouse:/var/lib/clickhouse gaiodataos/gaiodataos:latest
# Start the container - Pull specific version
docker run --pull always --name gaio-dataos -p 6410:6410 -v dataos_content:/home/bun/.gaio-dataos/app/content -v dataos_h2o:/home/bun/.gaio-dataos/h2o -v dataos_redis:/home/bun/.gaio-dataos/redis -v dataos_clickhouse:/var/lib/clickhouse gaiodataos/gaiodataos:v0.0.800
```
***
### Need help?
We're here to support you: